Seem like they work pretty well. Looks to definitely make things easier and more automated. BOOM FREE MONEY! This is pretty basic and was fairly easy to pick up. This is the method I will do rev clouds now. Pain in the Ass workaround free experience.
Here's what I've figured out so far.
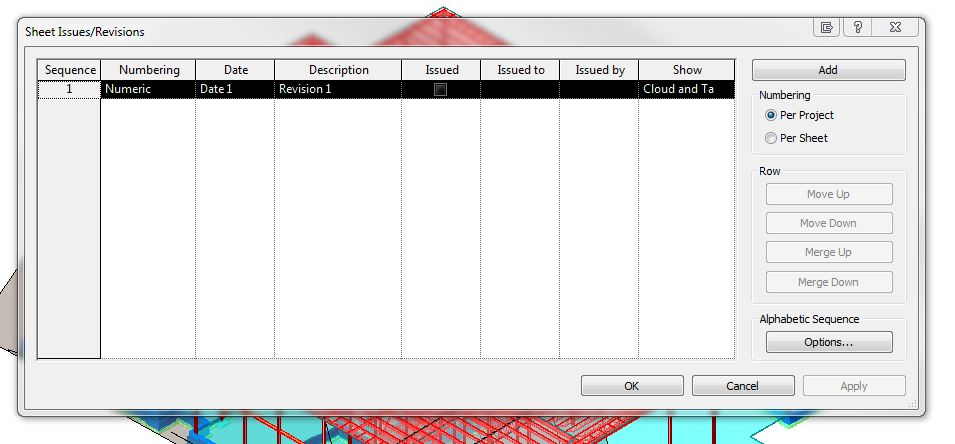
It's in a weird location. MANAGE tab, then ADDITIONAL SETTINGS panel, then (Sheet Issues/Revisions) on the toolbar. From there you add revisions, change information for each revision, and several options which I haven't used yet or maybe ever, but thier options none the less and the more the flexibility, the better. OK
And now it's time to add the revision cloud under the ANNOTATE ribbon, REVISION CLOUD, then in the properties box choose your revision # and draw you cloud.
Now ANNOTATE ribbon, TAG BY CATEGORY, pick the revision cloud, now you have the rev # symbol with the correct. There are some options of how the tag is displayed on the Properties bar below the Ribbon. Cool, moving on nicely.
This should be all of the necessary information and steps to get the revision Information into the drawing. Now, we have to modify the title block file so that the revisions are shown correctly.
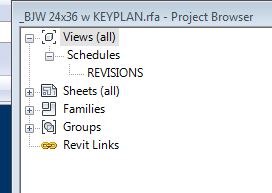
OPEN FILE--(family)--(titleblocks)--(whatever file you choose). In the title block file go to VIEW panel and you will see the REVISION SCHEDULE button. This appears to be a button exclusively for title block files, cool but buried kinda deep.
Now we're in a psuedo-schedule-parameter box. Under FIELDS, add whatever columns you need I use Number and Date, but whatever you need here. From there you have the FORMATTTING, SORTING/GROUPING, & APPEARANCE tabs, which work just like any other schedule.
Then you drag and drop just like any other schedule. Seems to work well. Two Thumbs Up Autodesk. We'll leave on a high note....or a low note??
Update: Still not up 1/6/11. Gonna check and see whats up
Update: BOOM it's there. Free Money folks. Really nice, although I think look up by zipcode would be a nice option, that is hardly grounds to complain. The ability to search the map is better anyway. Excellent Job! Thank you ATC
There have been several times I needed to change my elevations during the project to represent the "real" elevations such as (+) 100'-0" baseline instead of 0'-0". 100 works ok, but if you are using 569.32, instead of 0'-0" you're just asking for a headache. I know you gotta do it sometimes, but if that's the case use both numbers. Ok rant over. Two rants in two days. Guess you can tell what kind of week it's been and it's only Tuesday.
So here's the tip:
1) Open a (elevation view) any view is ok.
2) Go to (manage) ribbon and click the COORDINATES button
3) click the SPECIFY COORDINATES AT POINT button
4) pick your point you want to designate a certain elevation (or coordinate point)
5) Assign it a SHARED elevation (or coordinate point) and the model moves globally, which is important because you levels or anything in your model actually moves, just a reference number.
5) Specify a coordinate of elevation
6) Then you will use the SPOT ELEVATION command to show the elevation of an element. This will be based off of elevation 0'-0"; i.e. your second floor would read (+) 13'-0"
7) Select the spot elevation you just entered and click EDIT TYPE (ET is a shortcut I will use) and duplicate the spot elevation tag. Name it Target (Shared) to fit in with the rest of the types.
8)Under the properties toward the bottom you will see ELEVATION ORIGIN you will have 3 options: shared, project, and relative (dont know what relative is yet). Choose shared and BOOM all your elevation tags using this type are now based off of your "real" elevations. Nice.


