Here's what I've figured out so far.
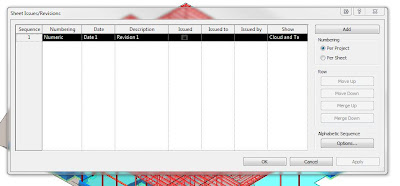
It's in a weird location. MANAGE tab, then ADDITIONAL SETTINGS panel, then (Sheet Issues/Revisions) on the toolbar. From there you add revisions, change information for each revision, and several options which I haven't used yet or maybe ever, but thier options none the less and the more the flexibility, the better. OK
And now it's time to add the revision cloud under the ANNOTATE ribbon, REVISION CLOUD, then in the properties box choose your revision # and draw you cloud.
Now ANNOTATE ribbon, TAG BY CATEGORY, pick the revision cloud, now you have the rev # symbol with the correct. There are some options of how the tag is displayed on the Properties bar below the Ribbon. Cool, moving on nicely.
This should be all of the necessary information and steps to get the revision Information into the drawing. Now, we have to modify the title block file so that the revisions are shown correctly.
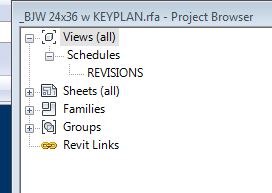
OPEN FILE--(family)--(titleblocks)--(whatever file you choose). In the title block file go to VIEW panel and you will see the REVISION SCHEDULE button. This appears to be a button exclusively for title block files, cool but buried kinda deep.
Now we're in a psuedo-schedule-parameter box. Under FIELDS, add whatever columns you need I use Number and Date, but whatever you need here. From there you have the FORMATTTING, SORTING/GROUPING, & APPEARANCE tabs, which work just like any other schedule.
Then you drag and drop just like any other schedule. Seems to work well. Two Thumbs Up Autodesk. We'll leave on a high note....or a low note??
 | |||
| Schedule located manually in TB |


No comments:
Post a Comment